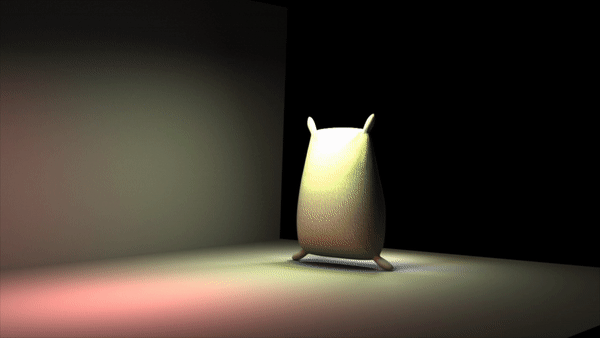
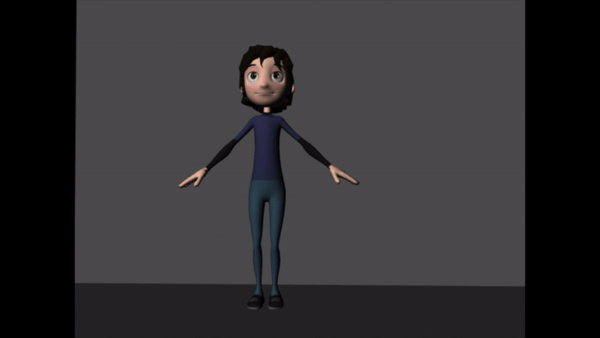
Spacecraft
Tuesday, 19/09/2017 (Week1)

Using the Maya software I created this spacecraft which began with a square that was divided in 16 squares making possible to manipulate each of them individually. Arnold gave me the possibility to add texture and colour. So far it's a basic spacecraft with no much shadow and with basic tone colours.
Bouncing Ball

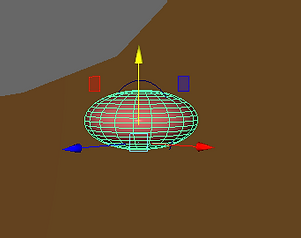
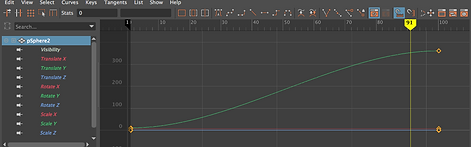
A sphere was placed some centimetres above the "ground" to obtain the effect that the ball will drop on the "ground" and then start bouncing. Therefore, to begin with that effect, I used the Key-frame in the time line (Maya) to mark when the sphere goes up and down pressing the letter S. To obtain a realistic bouncing ball I used the Graph Editor, in which I could see the curves levels that helped to make a precise bouncing putting some curve levels in V-shape.
Bouncing ball Step by step
This video screen recorded explain clearly how to create the ball bounce using the Poly Sphere Tool, Move Tool (W) and the importance of using the Key-frame in the time line (Maya) in order to create a good bouncing ball movement. It also shows the importance of setting the Key-frame in the Animation Preferences before begin any animation project, for example; changing the frame-rate, playback speed and finally getting the final result in Playblast.
Graph Editor Step by step
The Graph Editor visualises motion over time in the form of curves which plays a important role in order to get a good result regarding bouncing balls.
Inside this tool, we can find the Break Tangents Tool which allow us to manipulate the curves of the ball and making them straight (V-shape).
The purpose of using the Break Tangents is to make a bouncing ball as real as possible because, the ball's highest moments should have tangents that are flat and the ball's lowest moments should have tangents that have V-shapes.
After Effects (Reference video in frames)
Step by step
The best way to achieve a realistic bouncing ball is following the frames of a video filmed previously with a ball while it hits the wall and the floor. Therefore, I filmed myself throwing a ball to the wall and edited the video in the After Effect programme. I added on the video filmed a Time Code (frame numbers), which were very helpful because while creating my bouncing ball, I just had to follow the frames on the video where the ball hit the wall and bounced on the floor and mark them on the Key-frames in timeline (Maya).
Bouncing Ball with frames
Tuesday, 26/09/2017 (Week2)

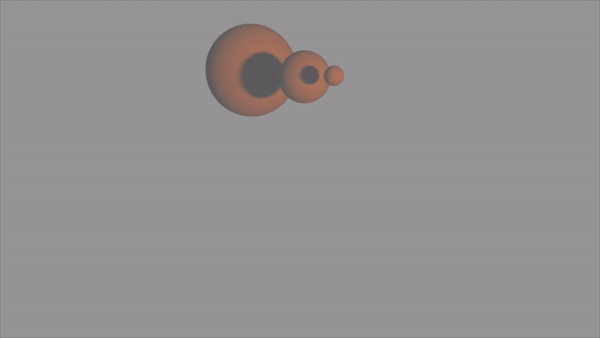
This bouncing ball was created by following the frame numbers of a video which I mentioned above (After Effects).
As we may see it, this animation has a precise movements such as; the distance between the ball and the wall and the high of the ball while it drops.
Frame numbers played an important role in the animation because following them, this bouncing ball has a meaning and it seems real, in terms of time.
Ballosbticales

Squashing ball

This video was done in order to put in practice: Key-frame, bouncing, rotation and the graph editor
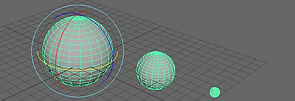
With the Bloop-ultimate-ball-ring provided by Angus, I started off by just manipulating the basic squash of it, then I applied it further to the bounce. So as the ball touches the ground it squashes horizontally, then as it goes up and reaches the top, the ball stretches vertically. Just by squashing, the ball becomes a bit more alive and the bounce becomes more interesting and believable. I utilised the dope sheet and graph editor to manipulate timing and spacing as well as to check if the ball bounce is working well.
Final
(Squash and Stretch)

Applying everything I learned in class, I made this ball that when it drops and touches the ground its shape is not the same because dropping and bouncing the ball stretches and when it touches the ground it squash. To achieve this result is important to keep an eye on Graph Editor and the Key-frames, as if any frame is selected too short or too long the ball bounce will not be successful.
Evaluation:
At first, I thought Maya was going to be a really difficult and confusing program to get to grips with, however as I started to get more and more training and I did more experimenting, I found that it was easier and much more fun than I thought. I think on this first part I did okay, but I realise that looking back on these weeks that my ball tests weren't that great. I plan to work much more on my spacing and timing.
Parenting (Planets)
Tuesday, 3/10/2017 (Week3)
Parenting in Maya is definitely important in the aspect of animation, because before creating an animation, everything should be arranged in their appropriate places
PARENT – is considered as the main object of the model
CHILD – is considered as a sub-object of the model.

On these screenshots, we can observe how Graph Editor changed the curved line to a straight line.
It is good for animating a linear transition in an animation
Hand

Applying the parenting technique, I created this hand hitting a ball. It's important to mention that the Parent is in the arm.


Parenting is very important in order to coordinate movements therefore, in this hand I combined 2 different movements. Opening the hand and pointing with one finger.
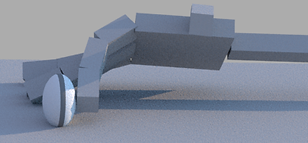
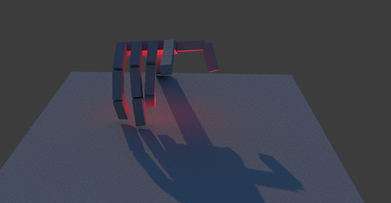
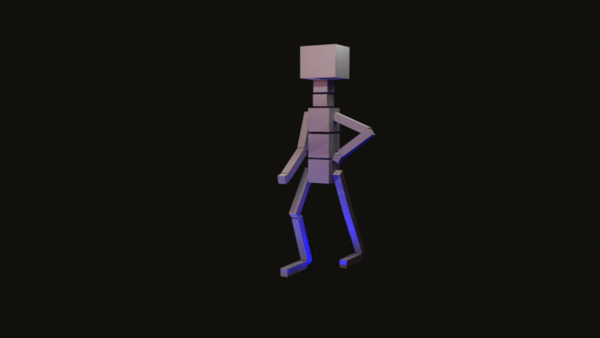
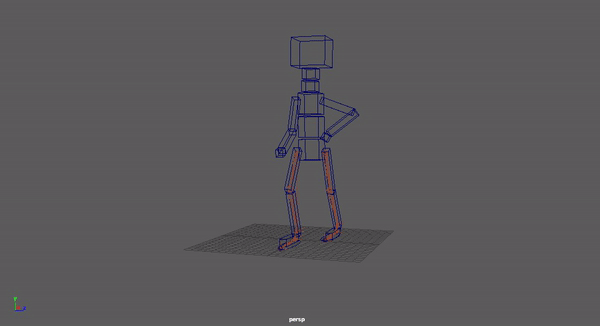
Robot
After using the parenting technique for a couples of days, Angus showed us how to use this technique for more objects.
This is the result of parenting hand, head, neck and hip. So far it's a simple robot movement but I am sure that knowing this Parenting technique perfectly I can create more movements such as walking.
Sack of Flour

SAD

Happy

SHY
With a sack of flour provided by Angus, I animated it in 3 different moods; sad, shy and happy.
In order to achieve those moods, I had to pay meticulous attention in every part of the sack because not all move at the same time.
It was also important to use the Key-frame in Maya to select where every movement should be.
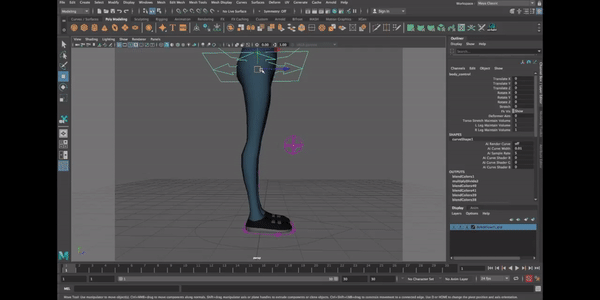
Walking
Tuesday, 10/10/2017 (Week4)


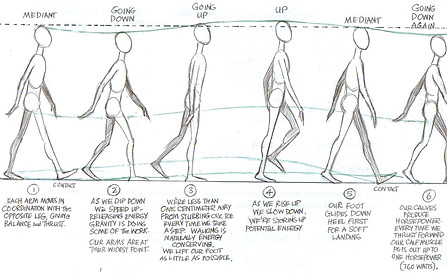
Creating and moving legs in Maya was not difficult, it was just to follow some simple and effective steps. Inside the Rigging panel I selected the Joint Tool, which they became the legs and then I selected in the same Rigging panel, the tool called IK Handle which did the connection with the top to the bottom. It is very important to highlight that we have to joint from the top to the bottom and Parent the joints with the circle under the boot.
To make a realistic walking, I read some advices in a book called Walk Cycle written by Richard Williams. One of the main advice was to think about female or male walk and also how cartoon exaggerated the walk such as; Disney or Looney Tunes.
Setting up ElevenRing
Tuesday, 7/11/2017 (Week8)
This video tutorial shows what is necessary to do, select or move in order to get everything prepared to start animating. The main thing to do is select the balls placed in the knees and bring it forward, then click the big circle placed under the feet of the character. Once the balls are selected, we go to the layer box and in the section of R Knee and L Knee we change global to ANKLE
Posing and Head Turn
Tuesday, 7/11/2017 (Week8)
It is very important to keep in mind that to make realistic movements we have to pay a high attention in every details, for example: blinking, the direction of the eyes, eyebrowns and the head movement are very important while turning the head.
As we can observe in the video, the character moves the eyes first before moving the head, the reason is because we first tend to look before moving our head, if we move the head first, we break the illusion, something similar happens in Films. If the actor look at the camera while he is acting, the audiences will act different different, " breaking the illusion".


Moving Head and Blinking


Head
&
Hip
Head
&
Hip
Poses

Exhaustion

Joy

Despair
Lifting a weight
Tuesday, 14/11/2017 (Week9)


To create a precise and realism lifting movements in Maya, I recorded myself lifting up a fire extinguisher in classroom.
As we can observe on the gif's videos, every movement is meticulous done; for example, the eye movements, bending the knew and repositioning the left leg in order to obtain more strength to lift the object.
An important tip for this lifting is to Parent the box with the hands when there is an action of movements with the hand and the object.
Also in Maya we can create in the custom box a quick way to save certain things, the way to achieve this is; Script Editor> Edit> Clear All> Select what we want to add it with the codes> Shelf Item> Name it and check in the Custom box.
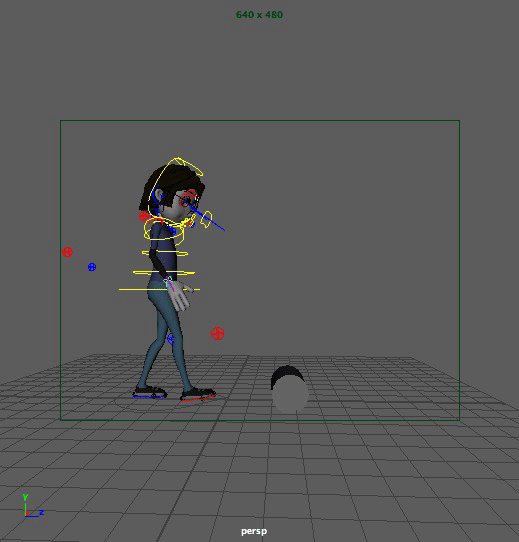
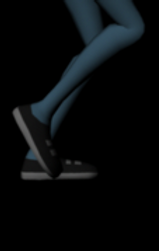
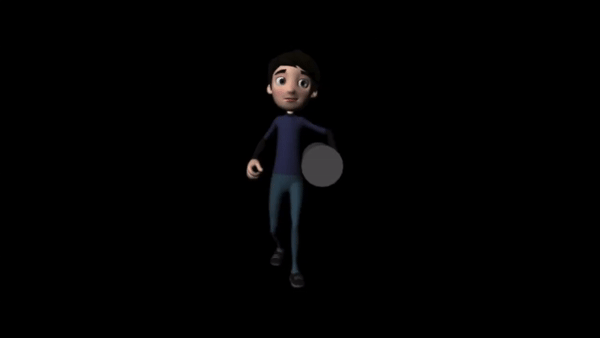
Walking Cycle
Tuesday, 21/11/2017 (Week10)

Creating a walking in animation is very easy if we first have a look at how walking cycle works why is important to know it.
Therefore, here is it a video of myself using Maya, in which I show how to make the foot movements following the walking cycle photography.
First Try
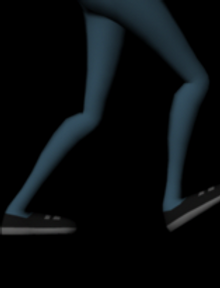
This is my first walking after applying the walking cycle, arms movements and eyes on this "person".
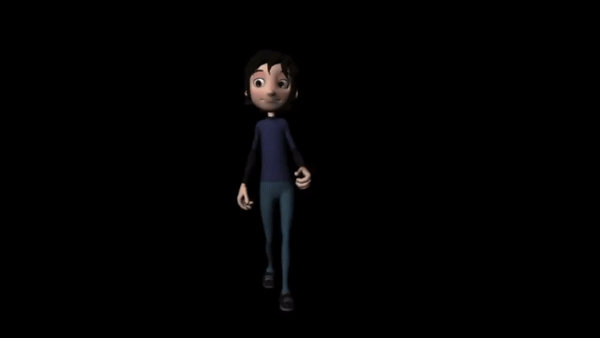
Final
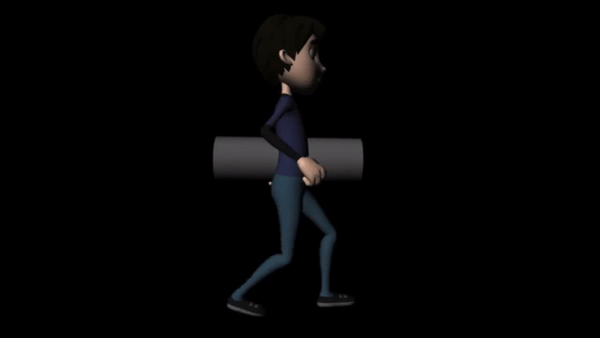

I found very useful the website called Bio Motion Lab (www.biomotionlab.ca) because, it gave me a clear idea of how a happy man walking with a heavy object looks like, for example; the knees are open and arms tend to be open as well because, if one arm is carrying an object, the other one is making the balance to compensate the weight.
This is the final video of a man walking with a heavy object in a hand. >>>>
Lip-syncing
Tuesday, 5/12/2017 (Week12)
This video tutorial shows how to make lip-syncing using the timeline (frames) while moving selected parts on the mouth such as; upper lip, lower lip even some part of the face, for example eyebrows or cheeks.
On this screenshot we can observe the important role Script Editor has when doing animation, in this case Lip-syncing. It seems very complex how Script Editor look like but when you learn who to add a (shortcut) in the Custom panel from Script Editor you will find very useful and also save time.

The final result after making the Lip-syncing with a simple sound downloaded from 11 Second Club Website. This video is not very long because it just to know and learn how Lip-syncing work in Maya.


On the website called 11 Second Club (http://www.11secondclub.com/competitions/august09), I downloaded an Audio Clip from the August competition. Once the audio was downloaded, I had to create an folder of sound in the ElevenRing folder and add into it my audio clip, after that I could animate my character following the sound track.
When I had all the movements necessaries for my project, I focused in Lip-syncing. A very useful advice I received from Aungus was to split the dialogue in words and select the ones that close and the ones that opens using Excel.
Later on with all the dialogue split, it was easy when to open and close the mouth and also when to wide or narrow the lips.


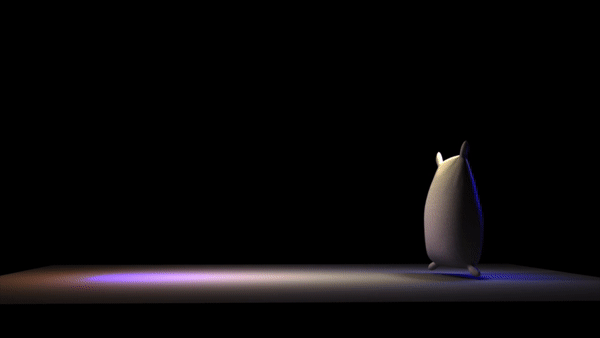
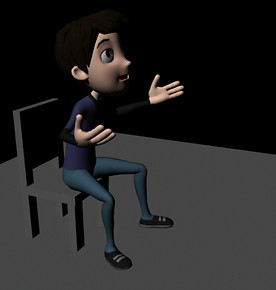
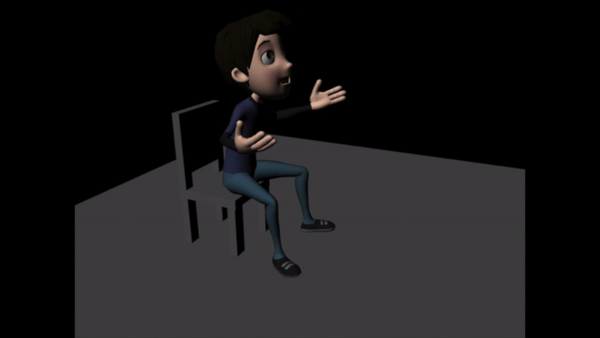
In my final project I used two camera angles, one is from the back while the character is talking through the phone (left) and the other camera angle is from the front when the character stands up, holding the coin and moving the chair (right).
I think having to different camera angles makes my project look more professional because each camera angle had different details to edit, for example;
-Back Camera: Phone on hand, head movements and slightly rotating the chair.
-Front Camera: Eyes, legs movements, lip-syncing, standing up, chair going backwards and head movements.
Finally, I placed a low light on the bottom of the character so it will create an mysterious scene.