P.D.P.

Week1 (18/09/2018)
Concept and Ideation
-Generating ideas
It is a well-known technique that develope a kind of checklist with the purpose to assists a person in coming up with ideas either for modifications that can be made on an existing product or for making a new product.

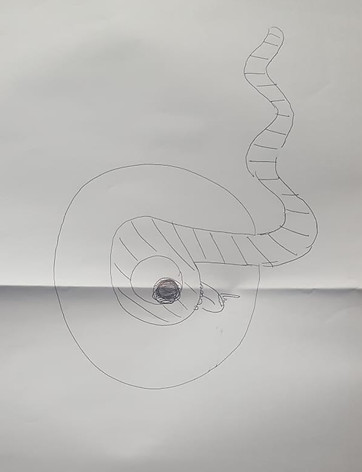

The aim of this exercise was to use my imagination and draw something using the marks already drawn ( in black colour)
For this exercise, I had to draw a current brand and give it to my classmate so he can draw something different using the current logo. In this occasion, I drew the Beats Headphone Logo and my classmate converted into a kind of nail with a helmet on its head

In this part, we focused on folding a paper in eight parts with the aim to draw eight different new ideas. Here are my two main ideas for the future that hopefully, one day will become a reality.
-1: Wires that transport all the information needed for the individual from the computer to the brain.
-2: Be able to connect a USB straight to our brain, so it will be more easy to get ready for something in particular, for example; presentation, driving a helicopter etc.
Week2 (27/09/2018)
Project Design, and Planning
Project design is an early phase of the project where a project’s key features, structure, criteria for success, and major deliverables are all planned out.
In this section, we have Development ideas, which could be: Story, Screenplay, Test Shots, Storyboards, Script Breakdown and Scheduling. On the other hand, we also have Pitch Development that involves; Argument for Project and the Demonstration of Planning and Preparation.

Week3 (02/10/2018)
Project Planning
Project planning is part of project management, which relates to the use of schedules such as Gantt charts to plan and subsequently report progress within the project environment.
Organization
-Information: Share what the project is about
-People: The roles for each of them
-Resources: What currently is in the are of the project
Planning
-Location: The place selected for the project
-Guide the project: Explain how the project will be done
Week4 (09/10/2018)
Pitching
Pitching means to present an idea opportunity (in this case) to a group of "investors". This use of “pitch” is a metaphorical one that alludes to baseball: you’re throwing an opportunity in front of the investors. Either they’ll accept the opportunity or let it fly by.
In order to deliver a good pitching, it is necessary to focus on what am I pitching for?, Who am I Pitching it to? , Who is the Audience?.
Week5 (16/10/2018)
Script Breakdown
The purpose of marking a script is to identify all the elements in a scene so they can include in the script breakdown sheet, shooting schedule, and then prepped prior to production. Marking a script is tedious and careful work.

Script Breakdown is not a shooting script, the difference is that on script breakdown we get the right actors in the right place, in the right costume with the right things and on the shooting script we just explain what is going to happen in each shoot.
Week6 (26/10/2018)
The casting session
The principal casting director is responsible for filling all of the speaking roles for the production, while the background casting director is responsible for filling all of the non-speaking and 'movie extra' roles.
The principle casting process is fairly standard across film and always begins with the producer and casting director generating a 'Breakdown'. A breakdown is a complete list of the required talent that is distributed to all of the local talent agencies.
The performance normally takes 5-9 minutes for each performer.
Acting
Acting is the art of practising for the representation a character on stage. The purpose is not pretending to act, it is feeling it, therefore the important key is to have a great connection with the character.
Shot List
A shot is a filmmaking term that describes a series of frames (single picture), that runs for an uninterrupted period of time. Therefore, a shot list is a checklist that describes each individual shot. Originally, the shot list was developed for television and cinema productions. The shot list contains, location, telephone number, script, the type of shot, camera movement and descriotion of the action.
Week7 (2/11/2018)
Talent
In the film industry Talent is recognised for film directors that with few money or sometimes absolutely nothing made memorable films or short films. Talent also is referred when the film directors increased the profit from their films. For example, the first Peter Jackon's film, Bad Taste had $12,000 profit and the latest Peter Jackson's film had $200M.
Week8 (9/11/2018)
Pitches
A good pitch is a great story, when presenting is essential no to read off the screen because if we do, we are not necessary for the presentation.
In the week 13, each individual shall deliver 6m40s of a presentation about their topics for the final project.
Here it is my story-board that will be presented in my PDP (Project Design and Planning)


Week8 & 10 (16 & 23/11/2018)
These two lessons are called Free Sessions because, these days are meant to ask questions and keep building the presentation for week 13.
Regarding the PDP Presentation, it is expected to show some of my own work based on the final project and also other people work who have been an influence.
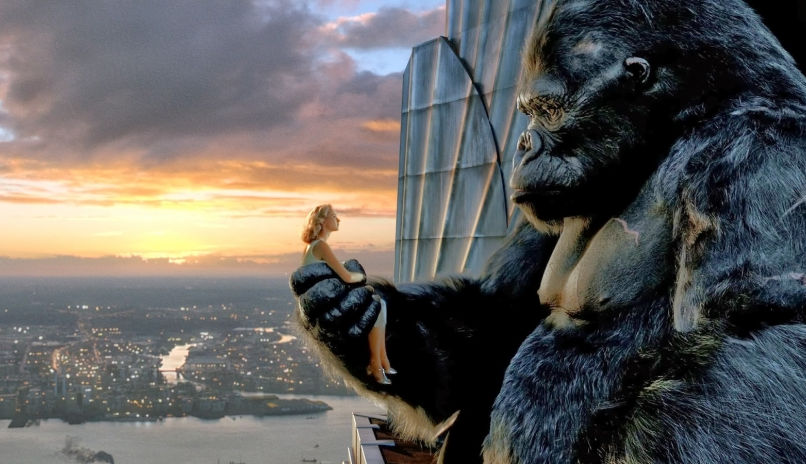
Video reference from The Shallow film
Week11 (30/11/2018)
HDR and Panorama Tools
HDR
HDR stands for High Dynamic Range imaging, and it is an old photography practice which is recently introduced to camera phones in different devices such as Apple and Android.
The way HDR works is very different to a normal professional camera, because instead of taking one photo, HDR uses three photos, taken at different exposures. Those three photos taken can be edited together in an imagine editing software and highlight the best part of each photo. The result is something that should look more like what the eyes sees, rather than what the camera sees.
This HDR technique is recommended to be used in Landscape, Portraits in Sunlight or Low-light and Backlit Scenes.
-Landscape: Big landscape photos usually have a lot of contrast between the sky and land, which is difficult for your camera to deal with in just one photo. With HDR, you can capture the sky's detail without making the land look too dark, and vice versa.
-Portraits in Sunlight: Lighting is one of the most important part aspects of a good photography, but too much lighting on someone's faces might cause dark shadows, bright glare and other unflattering characteristics. HDR can help to put all that out and make the subject look better.
-Low-Light and Backlit Scenes: If a photo is looking a little too dark, which often happens if your scene has too much backlight, HDR can brighten up the foreground without washing out the well-lit portions of the photo.

HDR and Panorama Tools
Panorama Tools
The equipment needed for a HDR image using dSLR only are:
-Any dSLR camera: Cannon or Nikon are normally the cameras used for HDR images.\
-Manual mode: Always useful to know how to use camera in manual mode, as we can have the total control of the camera.
-Auto Exposure Bracketing: AEB is the main component in creating an HDR image. Bracketing is the term used to describe taking multiple exposures of a scene, the key element to capturing all of that wonderful light in the scene,
-Av mode and Aperture: Aperture Value (Av) Mode is the only setting that will work for HDR shooting. This settings allows to determinate the aperture of the exposure and the camera determines the shutter speed.
-Metering Mode: The metering mode is simply how the camera samples light to determine the proper exposure for the image. The camera has to see the scene before it, analyze the light in the scene, and determine what the camera settings should be.
-White balance: White balance is incredibly important to the images color balance. If a white balance is off, the entire image will be off. Auto White Balance (just like Evaluative Metering) will work most of the time. Cameras are smarter and smarter these days, and the automatic settings work more often than not. But just like the metering modes, we need to know the different white balance settings. The quickest and easiest way to correct white balance is using Custom White Balance.
-ISO Setting: The higher the number, the more sensitive it becomes. This means, ISO 200 will have no noise on the image and more than ISO 800 the image will have noise.
-Tripod: With a high aperture and a low ISO setting, your shutter speeds are going to become slower and slower. Therefore, having a tripod will benefit the final result.
-The right lens: HDR photography can be used for any image with a high level of contrast, but most often it is used for landscapes and cityscapes. These subjects are often large and overwhelming, and having the right equipment can make all the difference in the world. For most situations, the best option is going to be a wide angle lens.
Lightprobe
Lightprobe image is a spherical panorama made of several blended exposures containing high dynamic range.
The main purpose consists in simulating environmental light and reflections in rendering software using the radiosity method. Usually a sphere is created around the main scene, the sphere gets as texture/material the lightprobe image. Besides that the sphere´s material gets a "luminocity" property which allows to simulate light sources depending on the lightprobe´s color information. As the lightprobe contains high dynamic range it allows rather realistic but time consuming renderings. The method with photographing a mirrored ball is nevertheless popular for especially shooting light probes, as light information here is more important than the image or its resolution, the lightprobe usually is not seen in the final rendering.


Camera in Manual Mode
Aperture & Shutter Speed
Camera on Tripod

Light-Probe
Week12 & 13 (14/12/2018)
Project Pitches
During week 12, I prepared all the documentation and screenshots needed for for my PDP presentation.
In the presentation day, I had almost seven minutes to show how I am going to achieve the water simulation in the final university project. Here it is some of the slides a presented in class:
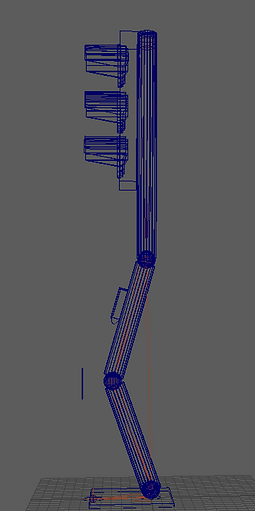

Rigging a traffic light and dolphin in Maya


Bi-frost in Maya (water splash)
Location (Tooting Park)
Week14 (21/12/2018)
Project Documentation
In this research journal I have all the material that could help me to achieve successfully my major project concept as well as having a correct script format and Test Renders.

-Test Renders
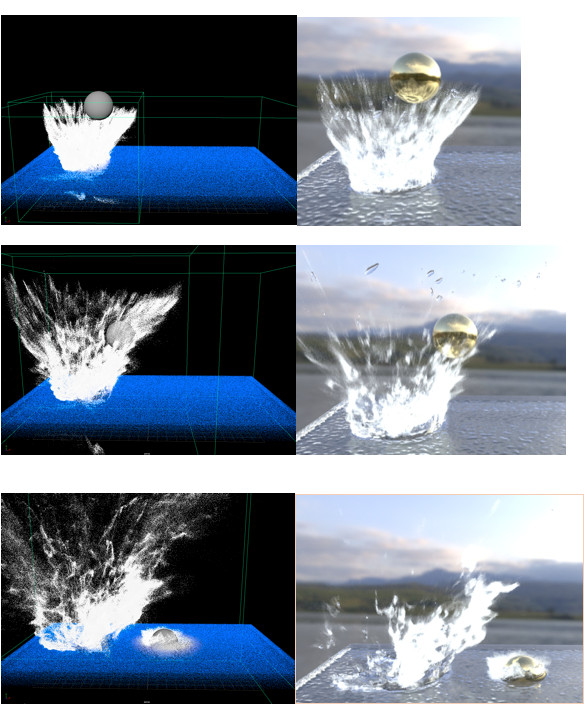

We can see the perfect splash particles on the left-hand side of this screenshots, but on the right-hand side I am struggling to transfer those particles to the final render.
Even though, the splash does not look bad at all, but the aim is to make it realistic as possible.
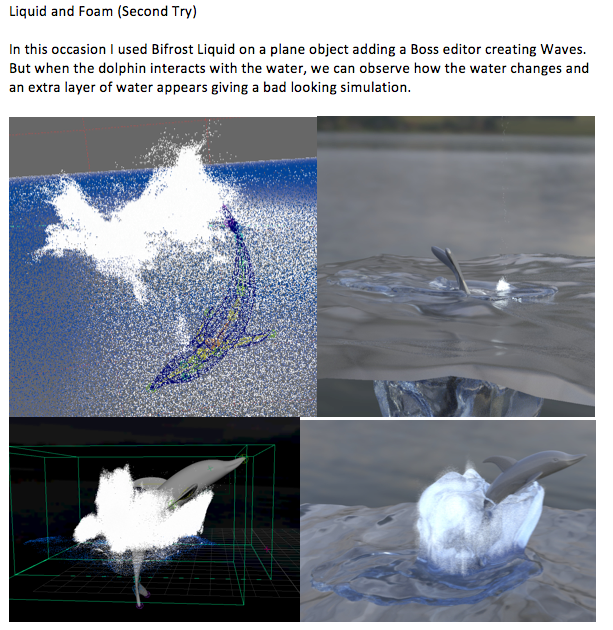

Due to shadows issues with the Image Shape Planer to Bifrost simulation in Maya Software, I will not be able to proceed with the Dolphin Project for now. Therefore, having explained my new idea for the final major project to the lectures, we are all happy to begin making my project which will involve live footage and simulations (Particles and nCloth).
Please go to the Final Mejor Project window at the top of this website. There will find all the process of the Aladdin Project.