Introduction of Dynamics
Week1
This is a screen recording tutorial of myself using Maya, where I go through step by step in how to create a passive or active rigid body in an object and also how to add gravity.
The procedure to follow is:
-Add floor/Add objects/Create an active rigid body for each of the objects/Add gravity/Hold shift and select all objects/ Click in Assign to Selected/Select the floor and create a passive rigid body/ Play-.
Tip: Go to Field/Solvers then initial State and click Set for selected, is important to select all the objects before doing this technique. Also put the frames in 25fps.


Bullet & nCloth Simulation
Week2

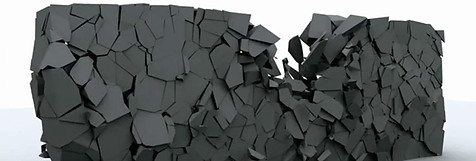
Here is another screen recording tutorial, showing how to destroy multiples cubes with a ball. To get this result may look complicated and complex but, is not. Before to begin using the Bullet in Maya is useful is we watch some examples of destruction and also get some images references.
Process:
-Once we have our object created is important to to delete the history of it before begin setting up the bullet system.
- Select the floor and add Passive Rigid Body in Bullet
- Select cubes and ball and add Active Rigid Body in Bullet (set individually)
- With the ball selected, we move the Initial velocity
-Play

As we know, there are three different techniques of breaking an object using Shatter in Maya;
Surface for breaking an object in individual polygons
Solid for breaking the object with solid pieces keeping the interior, therefore the edges are more realistic.
Crack for cracking selected points, for example; breaking just the middle of the window.
In the screen recording above, we can watch how to create a Shatter
Process:
-Create and object/Delete history/Select object/Effects/Shatter/Solid Shatter.
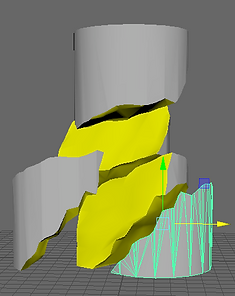
In the screen recordings on the right hand side, we can observe how to add Explosion and Rigid Set.
Process:
-Explosion; As I am using the current object, the Shatter is already created so I select the object/Bullet/Auto Composition/Apply/Bullet Rigid Body/Initially Sleeping ON.
-Rigid Set; Select the object/Select Rigid Set/Attribute Editor/ Collision Attributes (Hull)/Collision Margin (0.000)/Select Glue/Apply bullet active on the object.

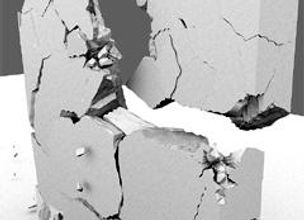
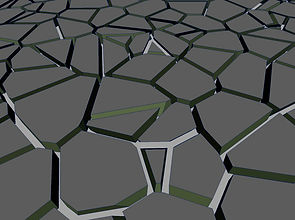
These photographs (above) are some references I grabbed from internet in order to get an idea of how the final result of Shatter has to look like.
On the right hand side, there is a Play blast video of a sphere breaking a pilar and a ball.


Basically, nCloth uses a property simulation engine called Nucleus to simulate a wide range of polygon surfaces, which allow us to model any mesh and make it an nCloth object.
In the video tutorial (top left, corner) we can follow the steps I took in order to create and add the nCloth to a object. The procedure is no dificult and it just requiere to follow the correct order, also highly recomended to delete the history before applying nCloth.
Process:
-Create an object/Select the object/Add Passive Collider/Select Cloth and click in Create nCloth.
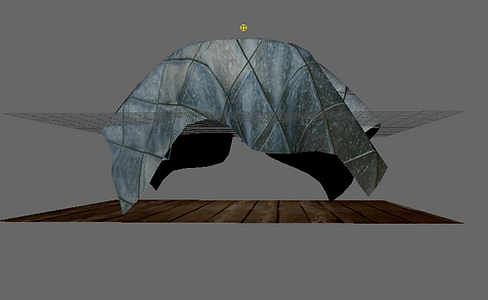
In this occasion, I created a table where a top cloth will drop on it. Recommended subdivide the cloth around 20 times and delete history.
Always important to get some references regarding the project we are going to create.

Creating a flag, I used the same process as the top cloth dropping on the table with an additional component "nConstraint".
In the screen recording (above),I show how to select the Vertex's closest to the pole in a strip and also, how to add Transform Constraint to the flag.
Tips: In Attribute Editor, we select Nucleus to add Wind Speed and Wind Direction to the flag.
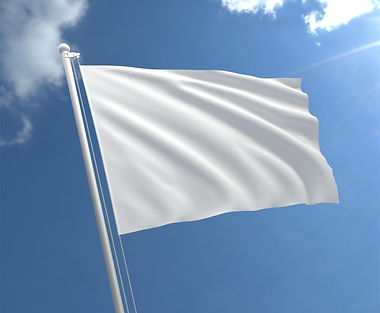

Flags References
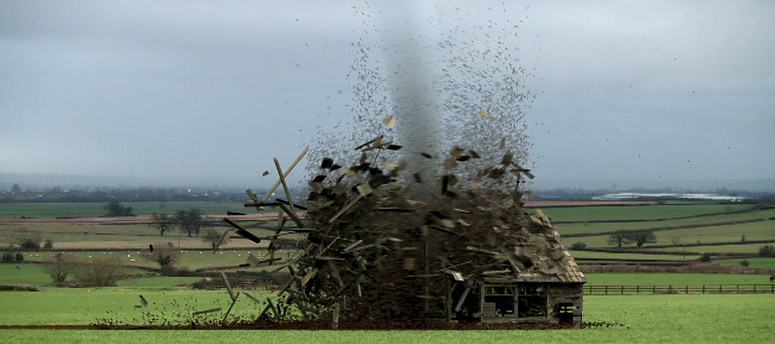
Destruction
Final


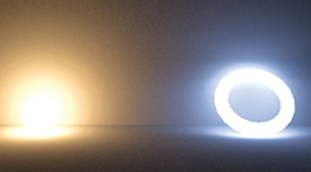
Video reference was taken from Youtube. I did try to replicate the light but it was a bit complex to do it.
nCloth


Video reference was taken from Youtube. Camera movements were done in Final Cut.
Lighting and Rendering with Arnold
Arnold lights
week4

Arnold is a ray-tracing renderer built for feature animation films and VFX. A plugin for Maya, Arnold is outstanding for giving you good results in a very short time. When it comes to lighting and shading. We can make the most of our CG work with a good lighting rig that includes realistic, artistic shaders.
On this screenshot, we can see some of the arnold lights names and the type of the light.
Mesh light: With this light, we can turn any object into a light, it's important to remember to turn the Light Visible on in order to see the object that is emitting the light.
Area Light
Area light: One of the functions of this light is that we can pick any colour we want and there is also an option to work with colour temperature using Kelvin values.

Spot light: Simulates light from a spot light, as a cone of light from the position of the light toward the point it is pointed at.


Each of the screenshot above show how I placed the Area Light on the scene in order to obtain a good light result. It's important to play with the exposure and intensity of the area light because a good combination of it may help quality of the scene.
-Tip for lighting a candle: As we already know the function of the mesh light, we can apply it to the flame geometry.
-Tip for glass: We select the object, apply aiStandardSurface, we go to Transmission and we move the Weight level to the left.

This is the final result using the Area light for the scene, Mesh light for candles and creating a wine glass.
2D Texture
Week5
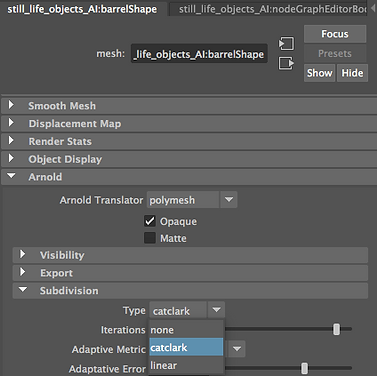
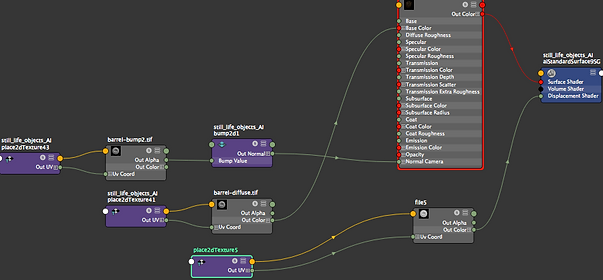
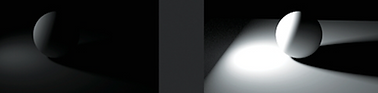
In order to create a 2D Texture, it's very important to have 2D TEXTURE file in the displacement map plugged into Hypershade. Once the object has applied with 2d texture, we go to Attribute editor and change the Subdivision to CATCLARK and increase interations.


In these two screenshot we can appreciate the different with one without 2D Texture and the other with 2D Texture.
AOVs Render


In this screen recorded, we can observe how to use Render Set Up, use the layers and how to transfer the objects into it. The reason of this technique is because, once we render the scene, we are going to have different types of images rendered in different ways such as; specular, reflection, sss and so on. Which later in Photoshop we can add them together creating the final result of the scene.
In this other screen recording I show how to switch off the candles by setting the visibility to OFF, so the candles will not appear in the render.
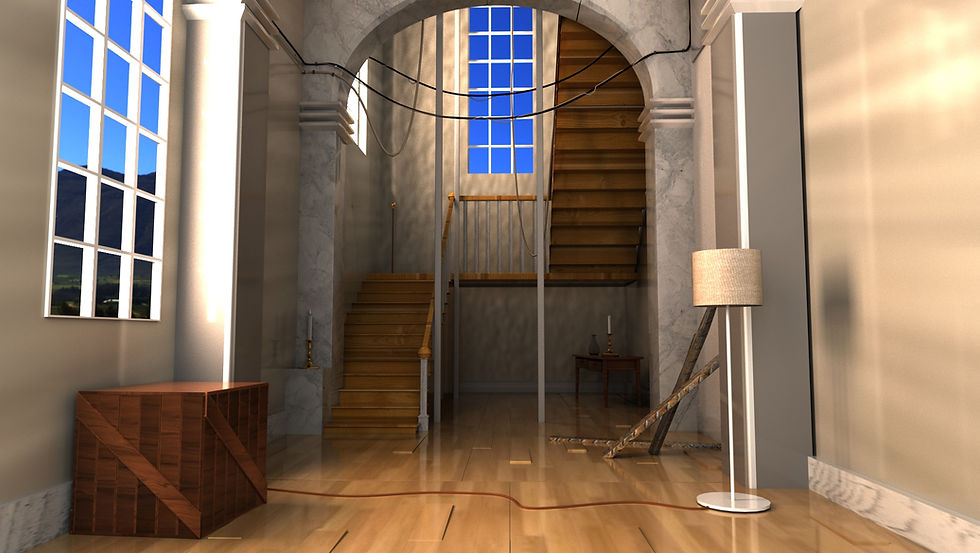
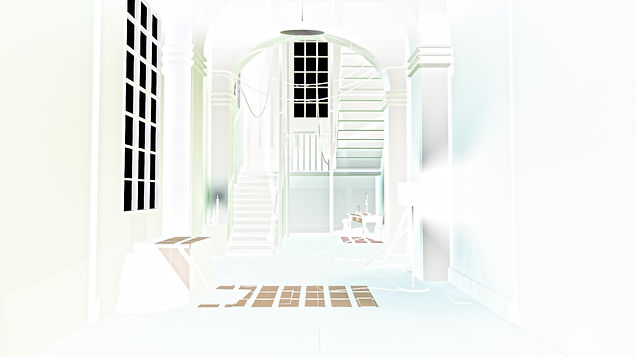
Day simulated image
Final
Render Passes


Specular
Emission

Shadow_Matte
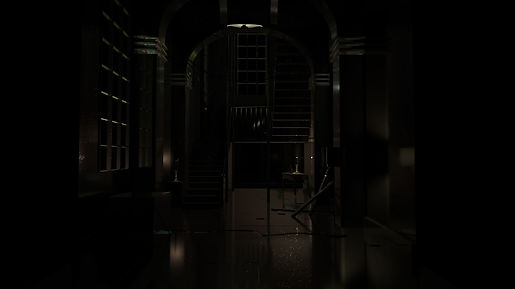
Night simulated image

Render Passes

Specular
Emission
Shadow_Matte
nParticles
Week6
In this screen recording, we can watch what steps have to be followed in order to create the Emitter. The steps are:
-Create an object (in this case a flat floor)
-Create a Passive Collider
-Create Emitter
-Move the Emitter slightly up and press play

This is the final render of my nParticle. I added the nConstraint in the floor with the pillars making look more interesting when the spheres hit the floor.

To fill an object with nParticles is very simple, we first create the base (floor), second:we select the object we would like to get filled and place it on the "floor", third: with the object selected we click Fill Object in nParticles, fourth: we go to outliner and select the object and hit H in the keyboard so the object will be hidden and nParticles visibles.
This is the final render in 24fps with a crystal floor and with an area light placed above the nParticles from Arnold.
nParticles
Week7
Moving the setting in the nParticleShape we are able to manipulate the nParticles as we wish; for example; colour, size, mass or even the strengths

nParticles (Constraints)
Week7
For nParticles constraints is highly recommended to create a object first, then select the nParticles Tool in nParticles and click in the corner of the "floor" to create a sheet of particles. With the particles selected we go to nParticlesShape/Shading/ and change Points to Spheres.

This is the final render from two pints of view (front and top). We can observe a colourful sheet that is covering a sphere and a ring.
Mash
Week7
I think that Mash is a bit complex to create but not impossible, here are the steps and tips to follow:
-Drag an object from the Poly Modelling
-Mash the object
-Go to the attributes editor/Mash_Distribute/increase the number of points and change the distribution type
-Click in the Red icon located in the right corner of the number of points
-Chose colour and play with it and later select for example Signal and play with the possition or rotation
-Hit play
Final render of my Mash. I could not bring the colours from the Mash (ring) to the render so, what I did was, add four area lights in different colour each of them
Fluids & Gases
Week11
3D Fluid
Creating a 3D liquid container is very simple and it does not take much time for a simple shape.
Steps:
- Click in Fluids/ 3D Container/ Z size 20.000
-Resolution in 20
- Select the Mitter and place it where we think is convenient
-Select the fluidShape and change the Gravity to -15.000
-Hit play
This is the Playblast of my 3D fluid container for 200 frames.
2D Gases
In this screen recording I show how to create a Gas using 2D Container from Fluids.
Steps:
-Fluids/2D Container
-Select the fluidMitter and place it where we want the start point
- We go to the Turbulence settings and we play around
- Also important to have a look at the Density, Velocity and Shading
- We click the Auto Resize

This render is done in 24fps with one area light at the front of the object, four wood sticks and the 2D gas simulating fire.
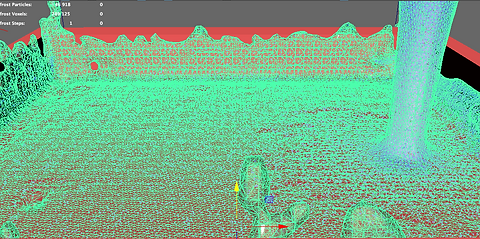
Bifrost
Week12
Screen recording for Bifrost.
Steps:
-In Bifrost fluids we click in Bifrost options
- Click in Enable Scratch Catching and put the Maximum Ram in 8.00
-We create an object which in this case is a Bath
-In Bifrost liquid we bring Liquid
- Select the Bifrost Liquid with the object (bath) and click the Collider in Bifrost Liquid panel
-In Bifrostliquidproperties we change the Master voxel size to 0.200
- Hit play
Tip: It's highly recommended to Click in Bifrost Fluid/Compute and Cache to Disk/add a name and set, so in this way we do not have to wait for Bifrost to load every time we play it while editing or making some changes in the scene.


Final render of the Bifrost. I tried to create milk dropping inside a square bowl
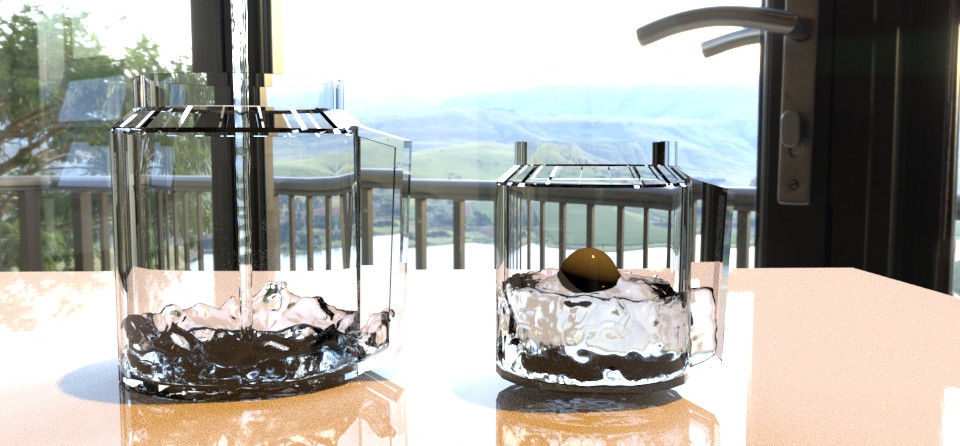
As now I have a bit knowledge in how to use Bifrost, I created this two jug of water, one already filled and the other one filling it.
I came up with the idea to make glass jugs so, the water will be more visible and also more realistic.

Final
-Fluids Simulation-


Assessment 4
–Particles & Gases-
Reference videos
Playblast
This is the playblast of my final project. I wanted to get the same result as we can observe in this playblast but I could not achieve because, in the final render the white gas from the drains came up black. Overall, I am happy with my project and with the flame result inside the house.
Final
-Render-
Behind the scenes of my gas & flame simulation

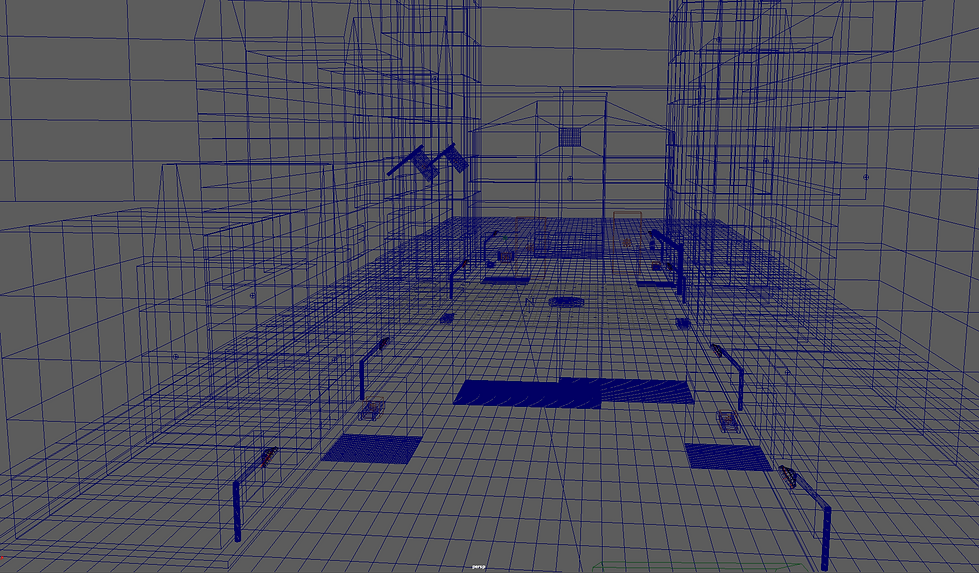
In this screenshots, we can understand how this simulation has live using different 3D container, emitter, nucleus, etc.
Video in GIF format